
There’s no treat more synonymous with fall than the caramel apple.
With Halloween just around the corner, everything is looking sweet and golden, and in honor to that holiday spirit, today we’re going to share with you how to make oh-so-scrumptious caramel apples right here in your kitchen.
Before you start, assemble your equipment. You’ll need:
- small sauce pan
- wooden spoon or plastic spatula
- wooden pointed sticks
- large shallow plate for toppings
As for apples, we love Granny Smith for their crunch and tartness—the perfect foil for sweet caramel. Honey crisp are another great choice, but any apple you love eating will work.
Step 1: Unwrap your candies.
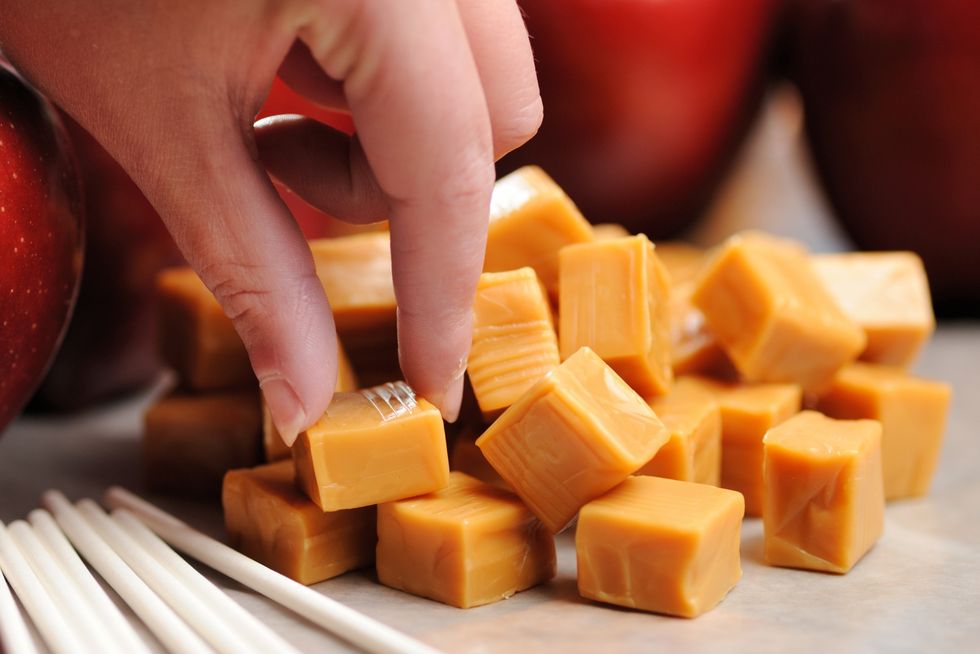
Making caramel isn’t easy, and without a candy thermometer, it’s impossible. In the case of caramel apples, we opt for a less challenging route—with caramel candies! One bag will get you about 4 candy apples, so stock up accordingly!
Unwrap all your candies and place them in a small sauce pan. While you’re at it, assemble your other ingredients too! Wash and dry your apples, stick ’em with popsicle sticks, and place your toppings on shallow plates.
Step 2: Melt your candies.
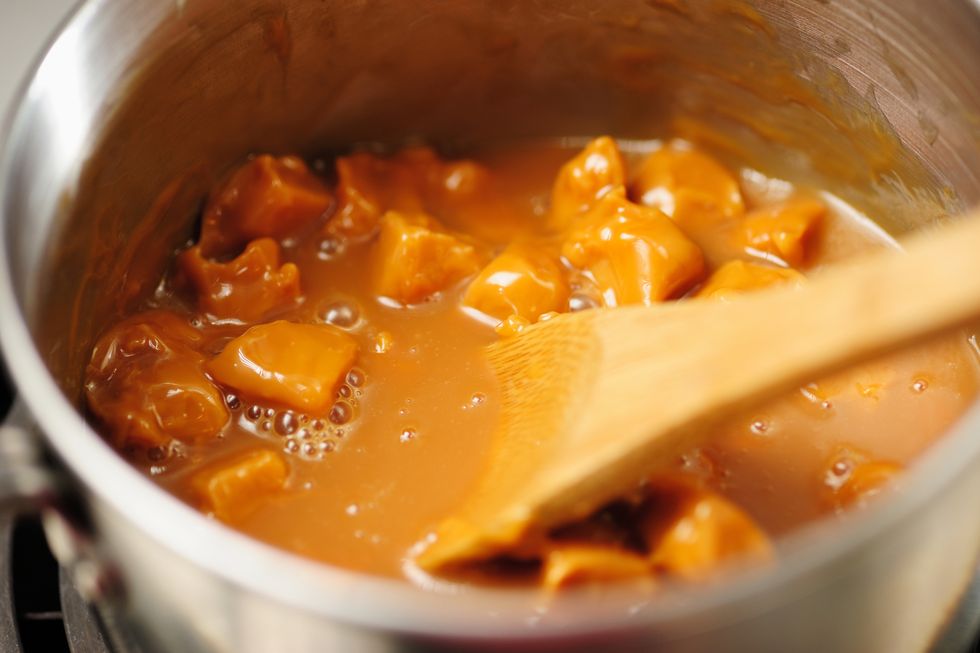
Place your candy-filled pan over medium-low heat and add 2 tablespoons water. Grab a wooden spoon or plastic spatula and stir frequently until candy is completely melted. (That means NO lumps.) Don’t take your eyes of the pan for too long! If the caramel burns, it’ll get bitter, plus you’ll have to scrub your pan like crazy.
Step 3: Get dippin’.
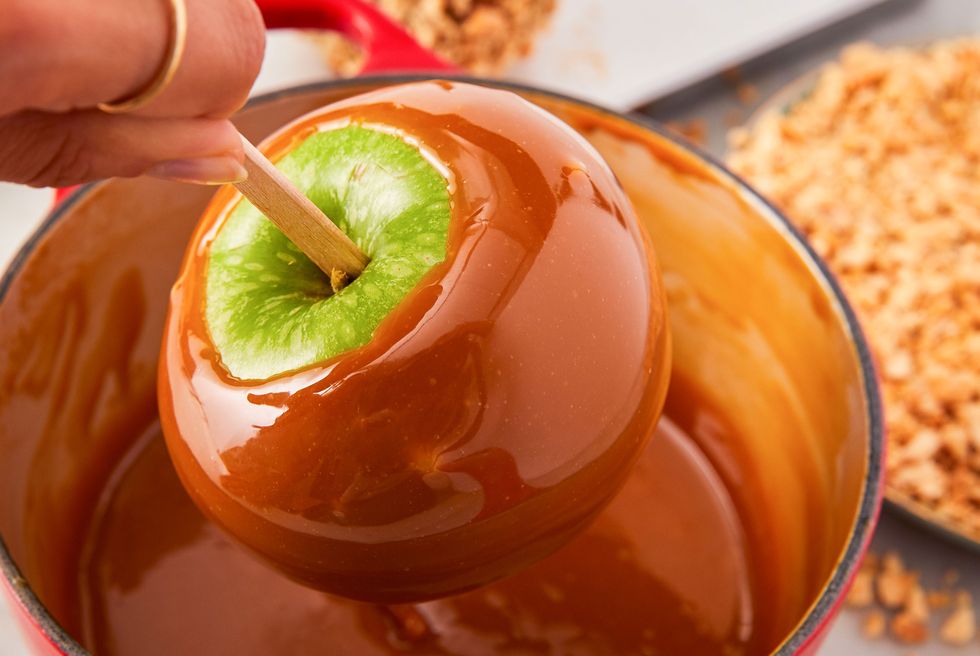
Remove your pan from heat and work quickly to coat your apples in caramel. We like to hold the handle of the pot and tilt it towards us so the caramel pools on one side. When you get down to the very bottom of the pot, use a spoon to coat your apple, as if you were basting a steak with butter.
As soon as you finish coating each apple with caramel, dip them directly in your toppings. We love toasted chopped peanuts (shown here) but you could dip your apples in pretty much anything. Think: crushed cinnamon cereal, chopped Reese’s Pieces, multicolored sprinkles, chopped Oreos… the list goes on and on.
Step 5: Refrigerate.
Once all your apples are coated, place them on a baking sheet lined with parchment paper and refrigerate them. This helps the caramel set up, so you don’t have a slide-y, sticky mess when you serve them.
If you don’t want to serve them cold, take them out of the refrigerator 10 to 15 minutes early and let them warm up a bit.
Pro tip: Struggling to clean your caramel-coated pan? Do not fear! Simply fill your pot with water and bring to a simmer until all the caramel has melted off the sides of the pan. Discard the water and scrub off any remnants with a soapy sponge.
Now you won’t need to worry about candy when the trick-o-treaters come along! Also, don’t forget to check out the original recipe from delish.com and to leave us a comment down below.